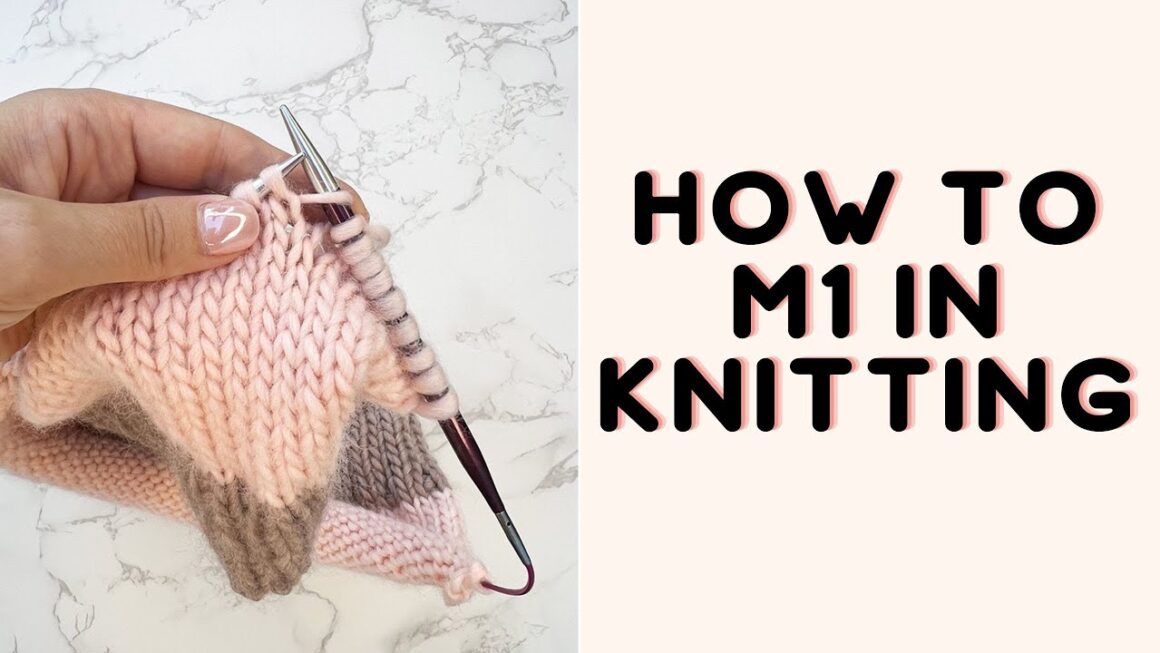
Knitting increases are essential for shaping your projects, and the M1 Knitting Stitch increase is one of the most versatile techniques to learn. It’s a discreet way to add stitches seamlessly into your work, creating beautiful curves, shaping, and even decorative eyelet details.
What is the M1 Increase?
M1 stands for “Make 1.” It’s an increase where you create a new stitch from the horizontal bar of yarn that sits between two existing stitches. There are a few variations of this increase with subtle differences in appearance. Let’s break them down:
- M1 (standard): The most basic M1 increase. It can create a slight slant in your fabric, making it a good choice for unobtrusive increases.
- M1R (Make 1 Right): This version creates a stitch that leans to the right. It’s perfect for creating symmetrical increases along pattern lines.
- M1L (Make 1 Left): This produces a stitch leaning to the left, mirroring the M1R.
Must Read: Top 10 Garment Manufacturers in the USA
Watch M1 knitting stitch Video
How to Knit the M1 Knitting Stitch Increases
Here’s a step-by-step guide for each type:
Standard M1
- Locate the horizontal bar of yarn between the stitch you just knitted and the next stitch on your left needle.
- Insert your right needle under this bar, lifting it onto your left needle.
- Knit this new loop through the back loop to avoid creating a hole.
M1R
- Find the horizontal yarn bar as before.
- Insert your right needle from back to front under the bar and lift it onto the left needle.
- Knit the new loop through the front loop. This creates a slight twist, giving it the right-leaning appearance.
M1L
- Locate the horizontal yarn bar.
- Insert your right needle from front to back under the bar and lift it onto your left needle.
- Knit the new loop through the back loop for a clean, left-leaning increase.
Must Read: What is Spandex Fabric: The Ultimate Guide to Stretch
When to Use M1 Increases in Knitting Patterns
You’ll often see instructions like the following in your knitting patterns:
- M1: Use the standard M1 technique.
- M1R: Use the right-leaning M1R.
- M1L: Use the left-leaning M1L.
M1 increases are used in all sorts of projects:
- Raglan shaping in sweaters
- Creating thumb gussets in mittens
- Adding stitches for lace patterns
- Gentle increases within a pattern
Tips
- Practice on a swatch to get the hang of these increases and spot the differences between them.
- Be consistent for the most visually pleasing effect.
- If the pattern doesn’t specify which M1 to use, consider the context for the best choice.
Must Read: Adrianna Papell: Glamour and Elegance for Every Occasion
Level Up Your Knitting
The M1 family of increases is a fantastic addition to your knitting toolbox. They open up a whole world of pattern possibilities!
Let me know if you’d like me to include some helpful image or video demonstrations to go along with this post. Happy knitting!
Must Read: Top Indian Clothing Manufacturing Companies


